How to Add and Manage Your Love Story
Create a beautiful timeline of your relationship milestones — the moment you met, your first date, the proposal, and more.
Opening the Love Story editor
Go to your invitation dashboard and click Love Story in the left sidebar.
Step 1 — Enable the Love Story section
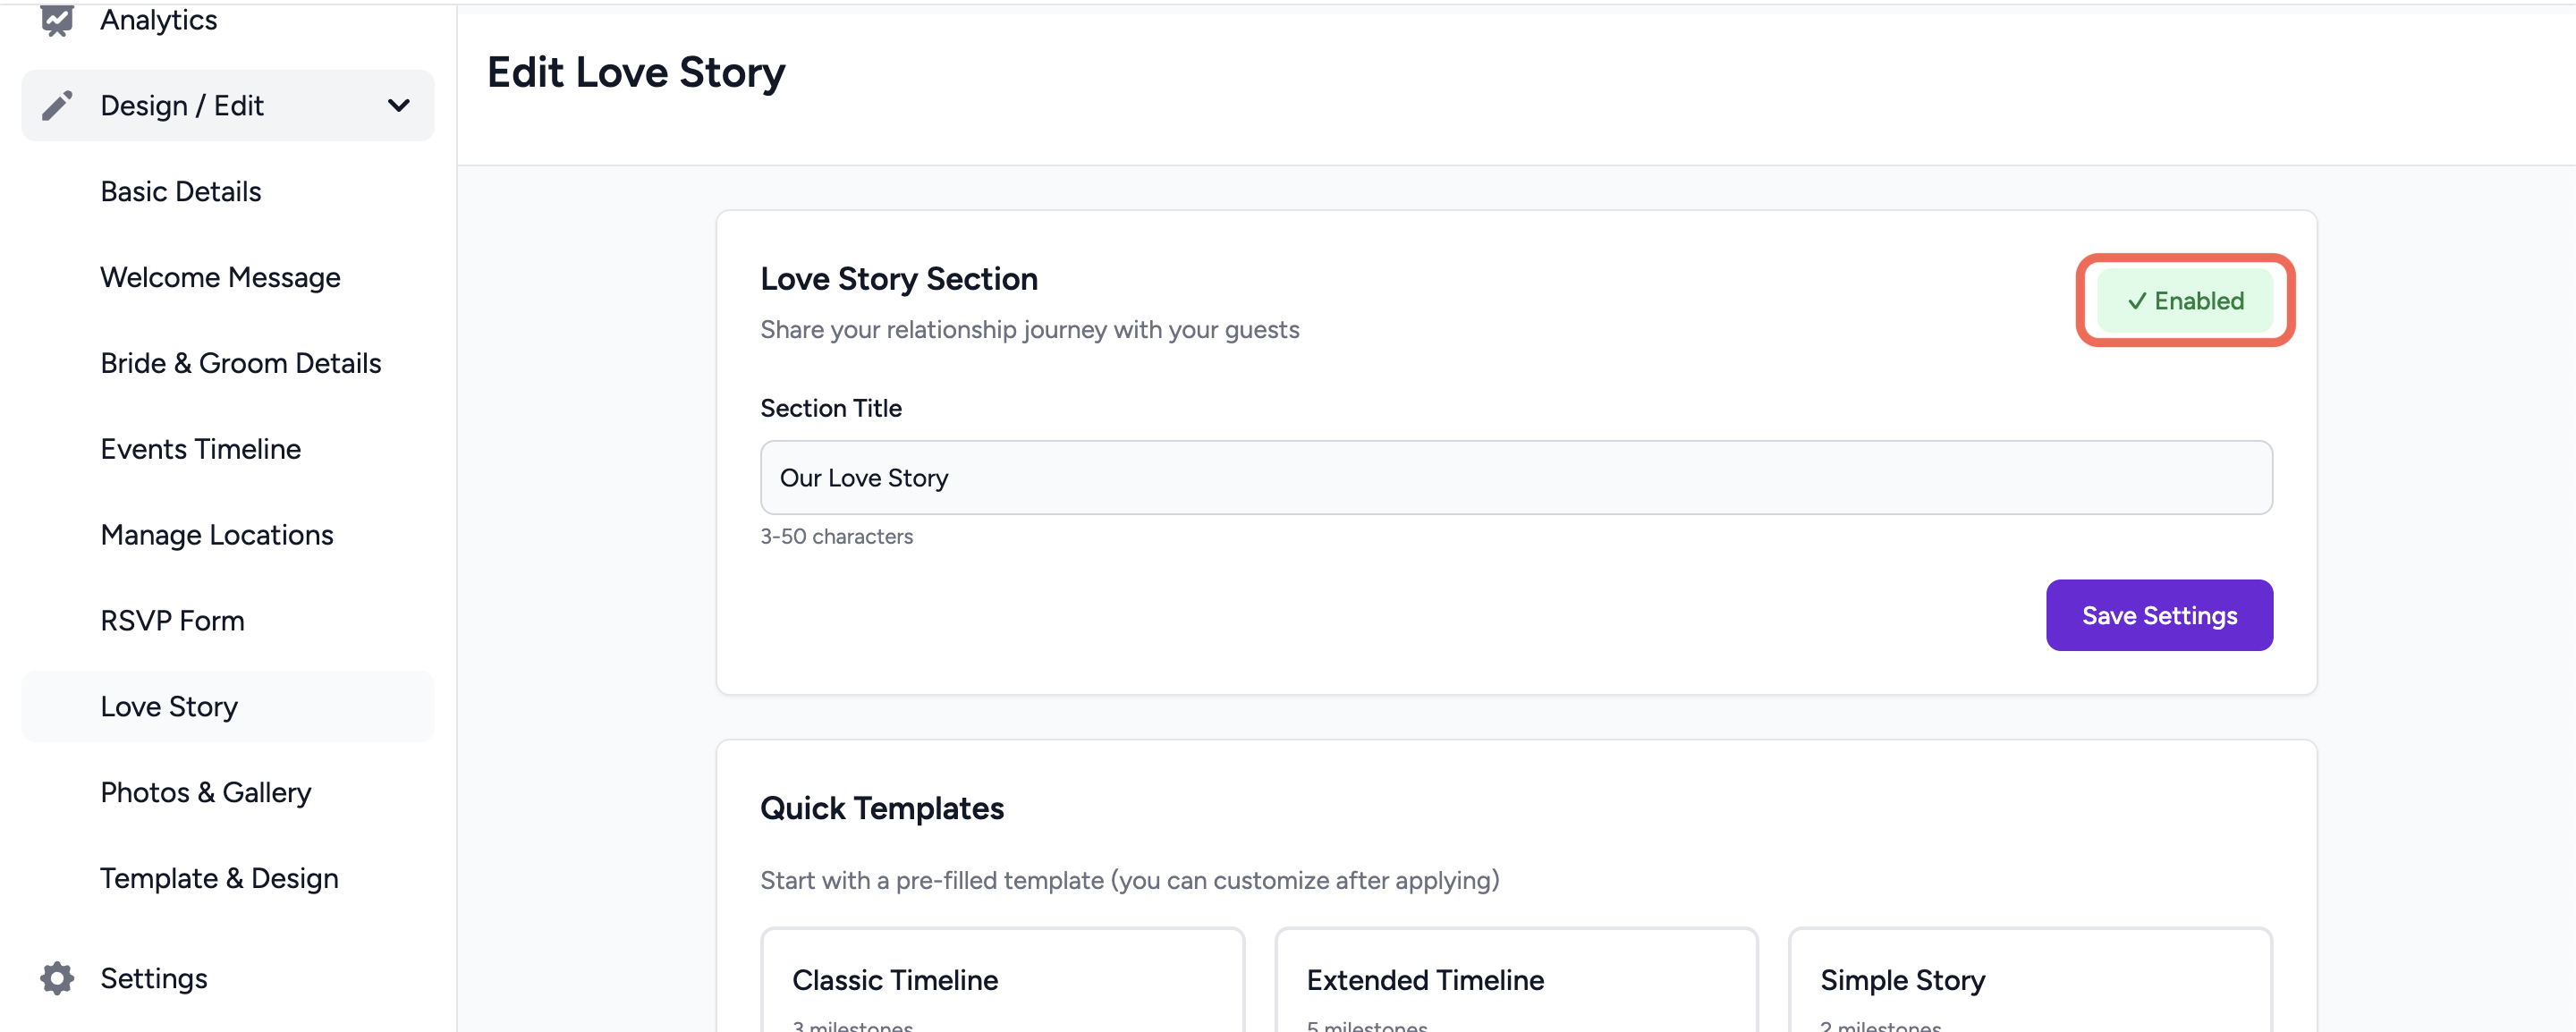
At the top of the page, toggle the Love Story Section to enabled (the button turns green). When disabled, this section won't appear on your invitation — guests won't see it even if you've added milestones.
You can also customise the Section Title — the heading your guests see (e.g., "Our Journey" or "How It All Began"). It must be between 3 and 50 characters.
Step 2 — Start with a Quick Template (optional)
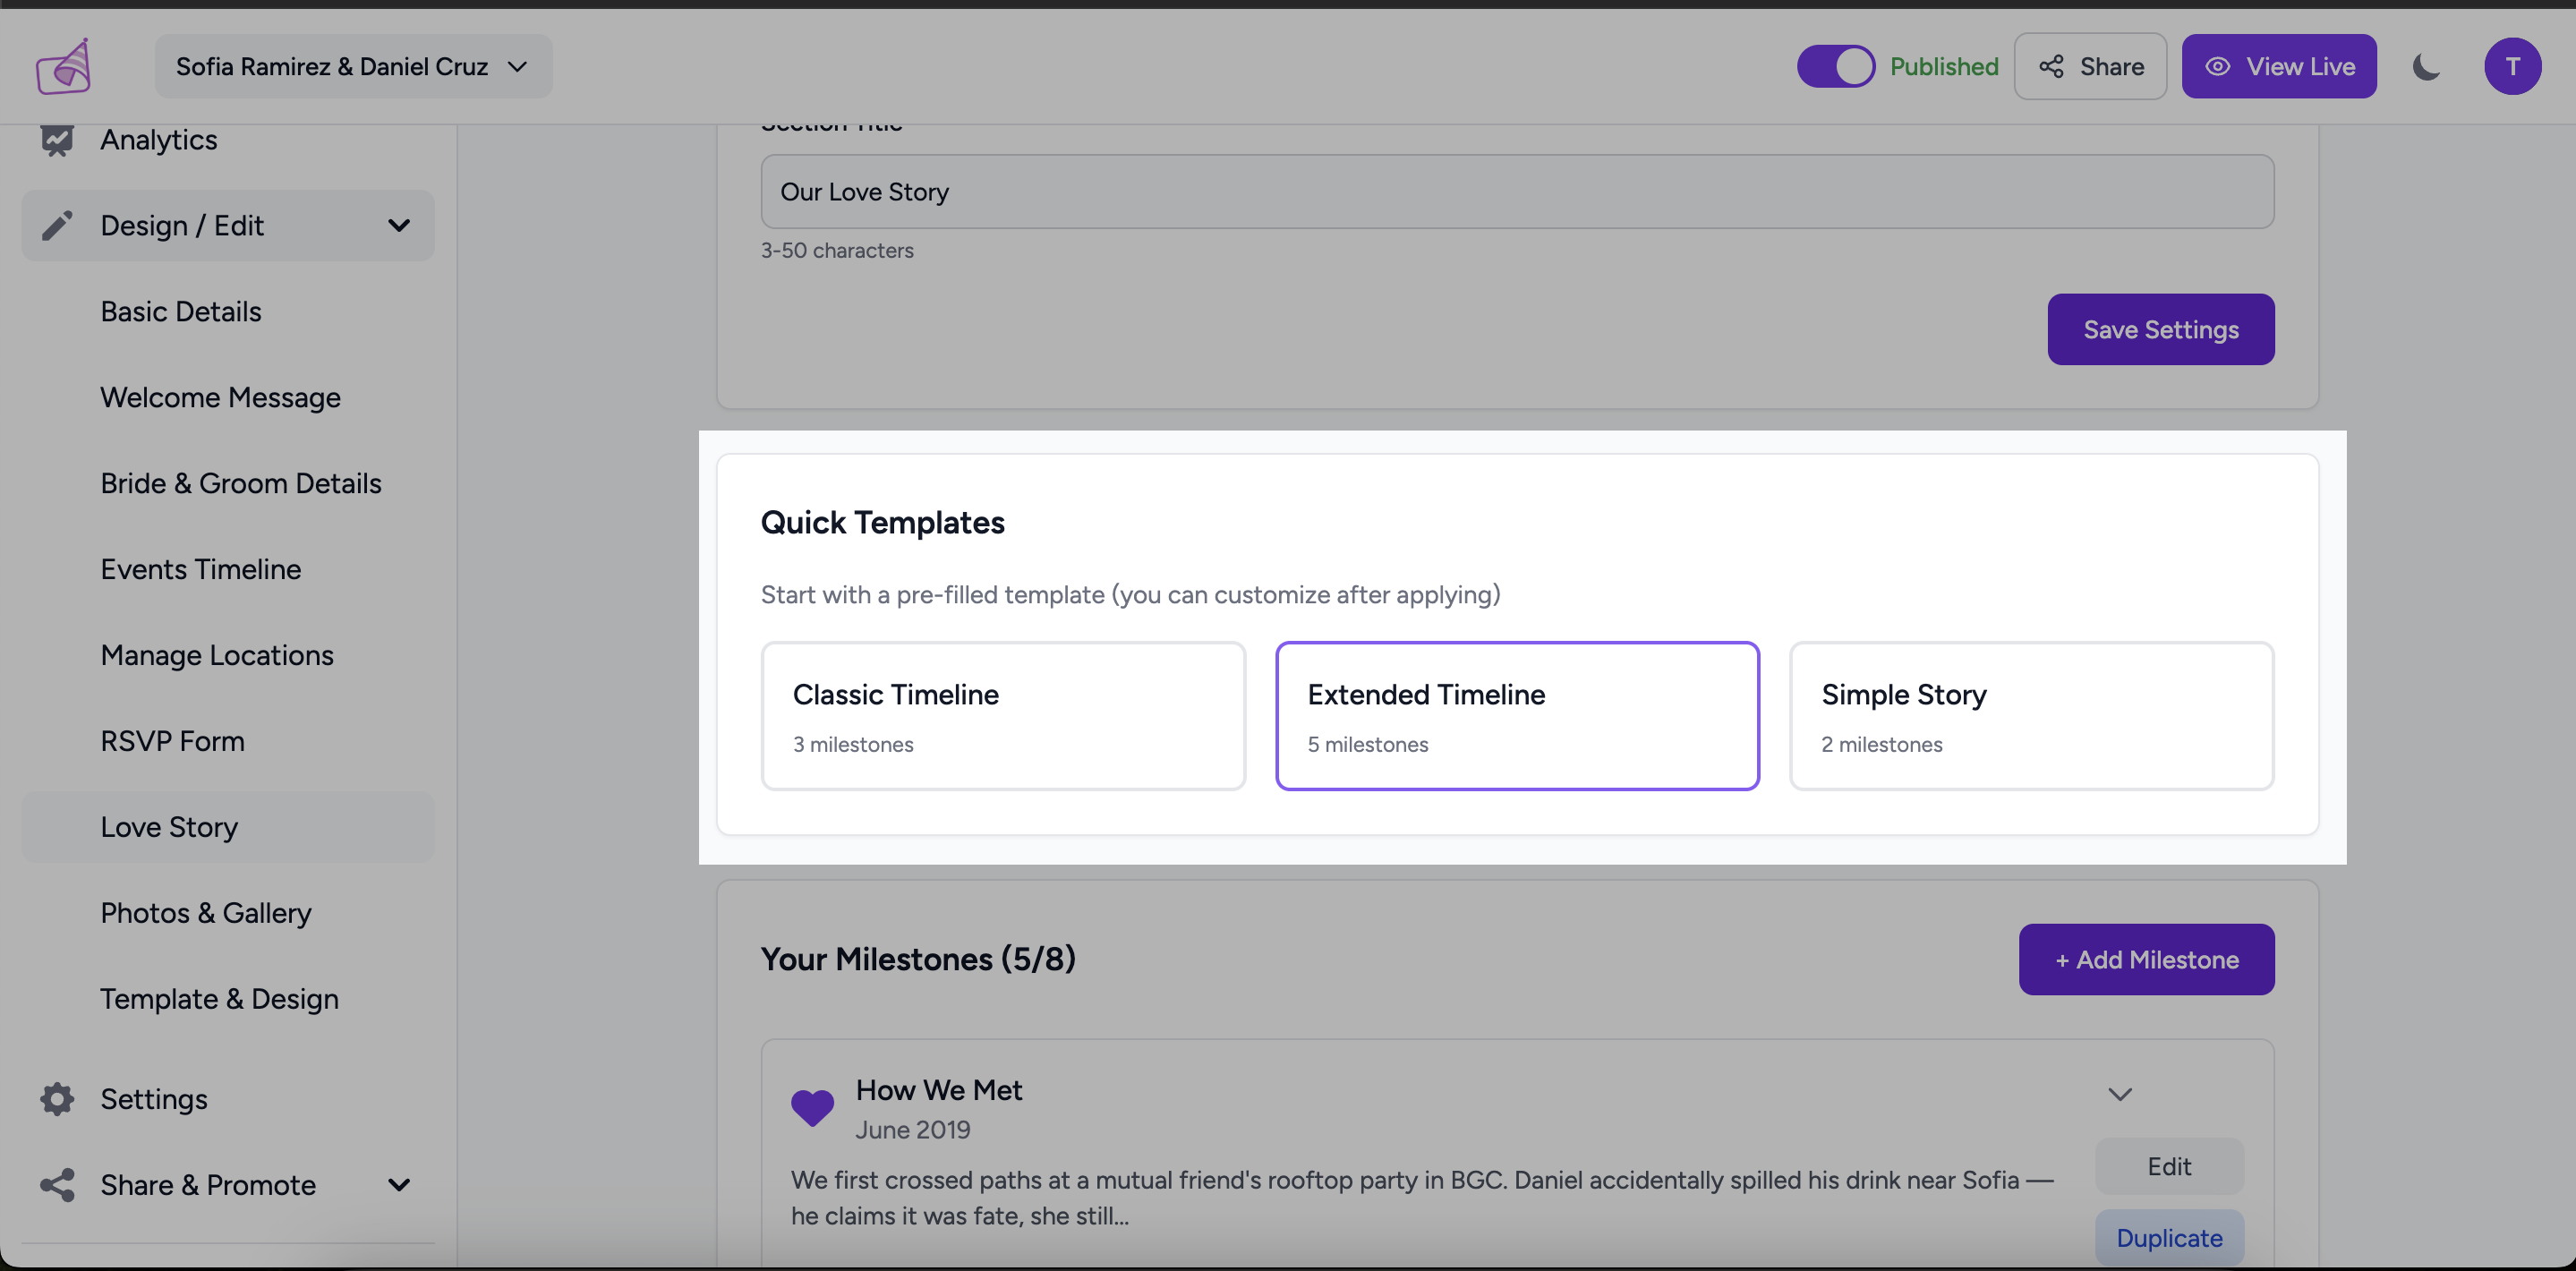
Don't know where to begin? Click one of the three Quick Templates to pre-fill your timeline with a set of common milestones (like "We Met", "First Date", "The Proposal"). You can edit or delete any of them afterwards.
Step 3 — Add a milestone
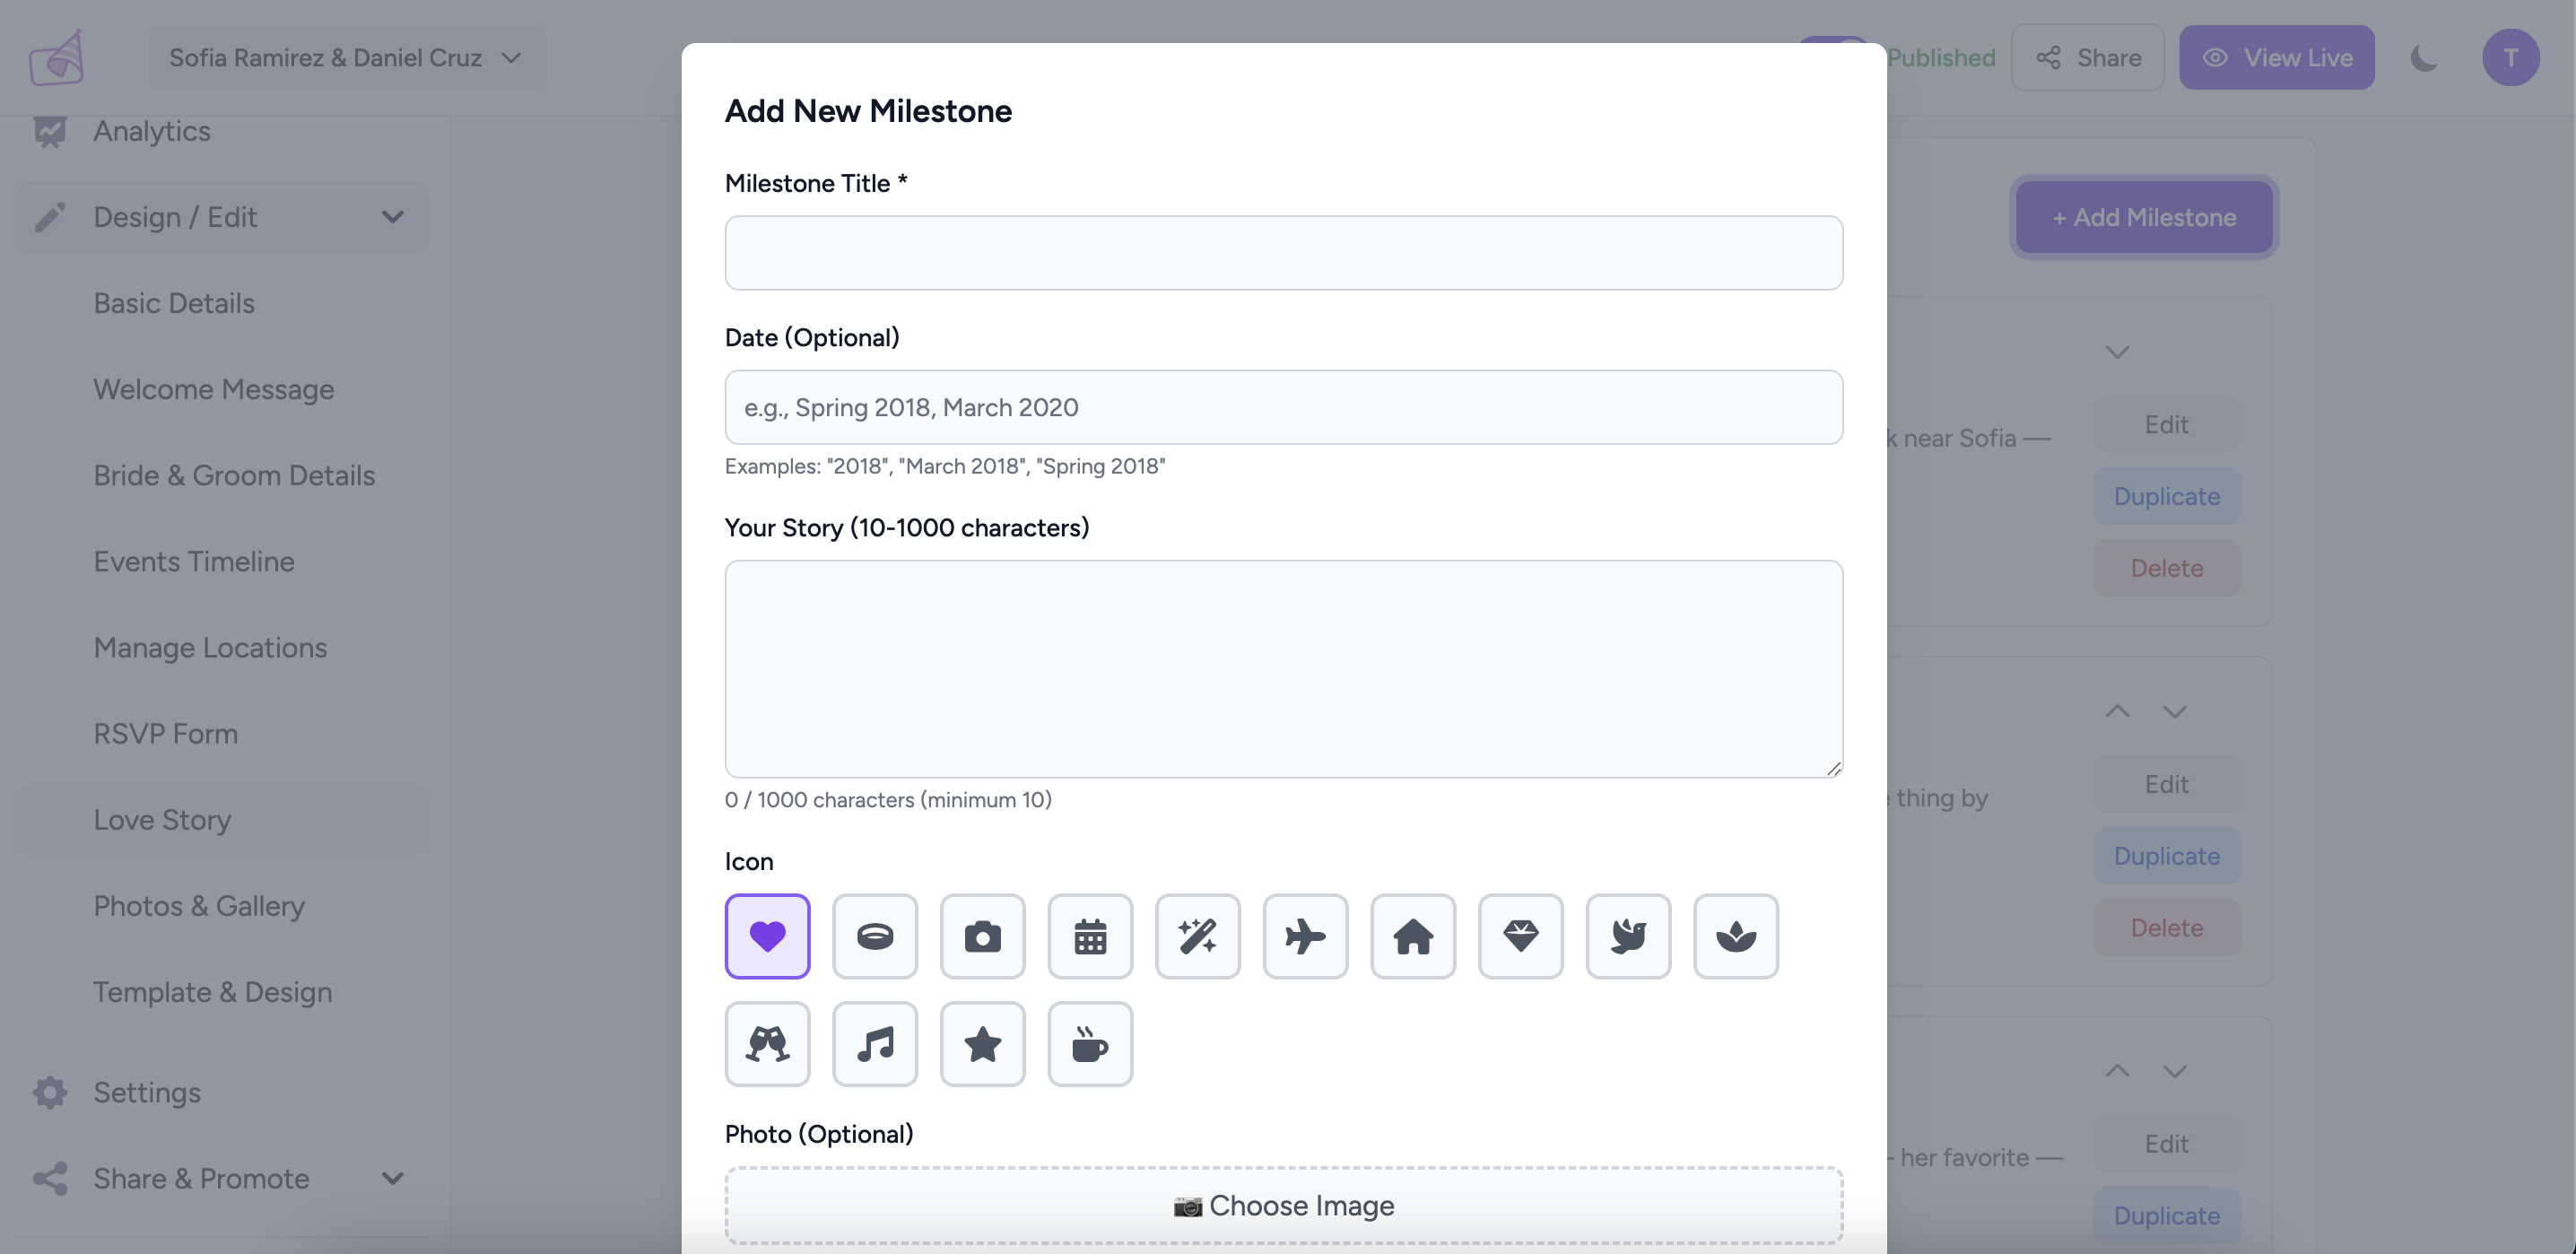
Click + Add Milestone to open the milestone editor. Fill in the following:
- Milestone Title (required) — e.g., "We Met", "The Proposal", "She Said Yes!" (up to 100 characters)
- Date (optional) — freeform text; you can write "2019", "March 2020", "Spring 2018" — whatever feels right
- Your Story (required) — tell the story of this moment in 10 to 1,000 characters. A live character counter shows how much space you have left.
- Icon — choose from a visual grid of icons (heart, ring, cake, camera, and many more)
- Photo (optional) — click Choose Image to attach a photo from your gallery
Click Save Milestone when done.
Managing your milestones
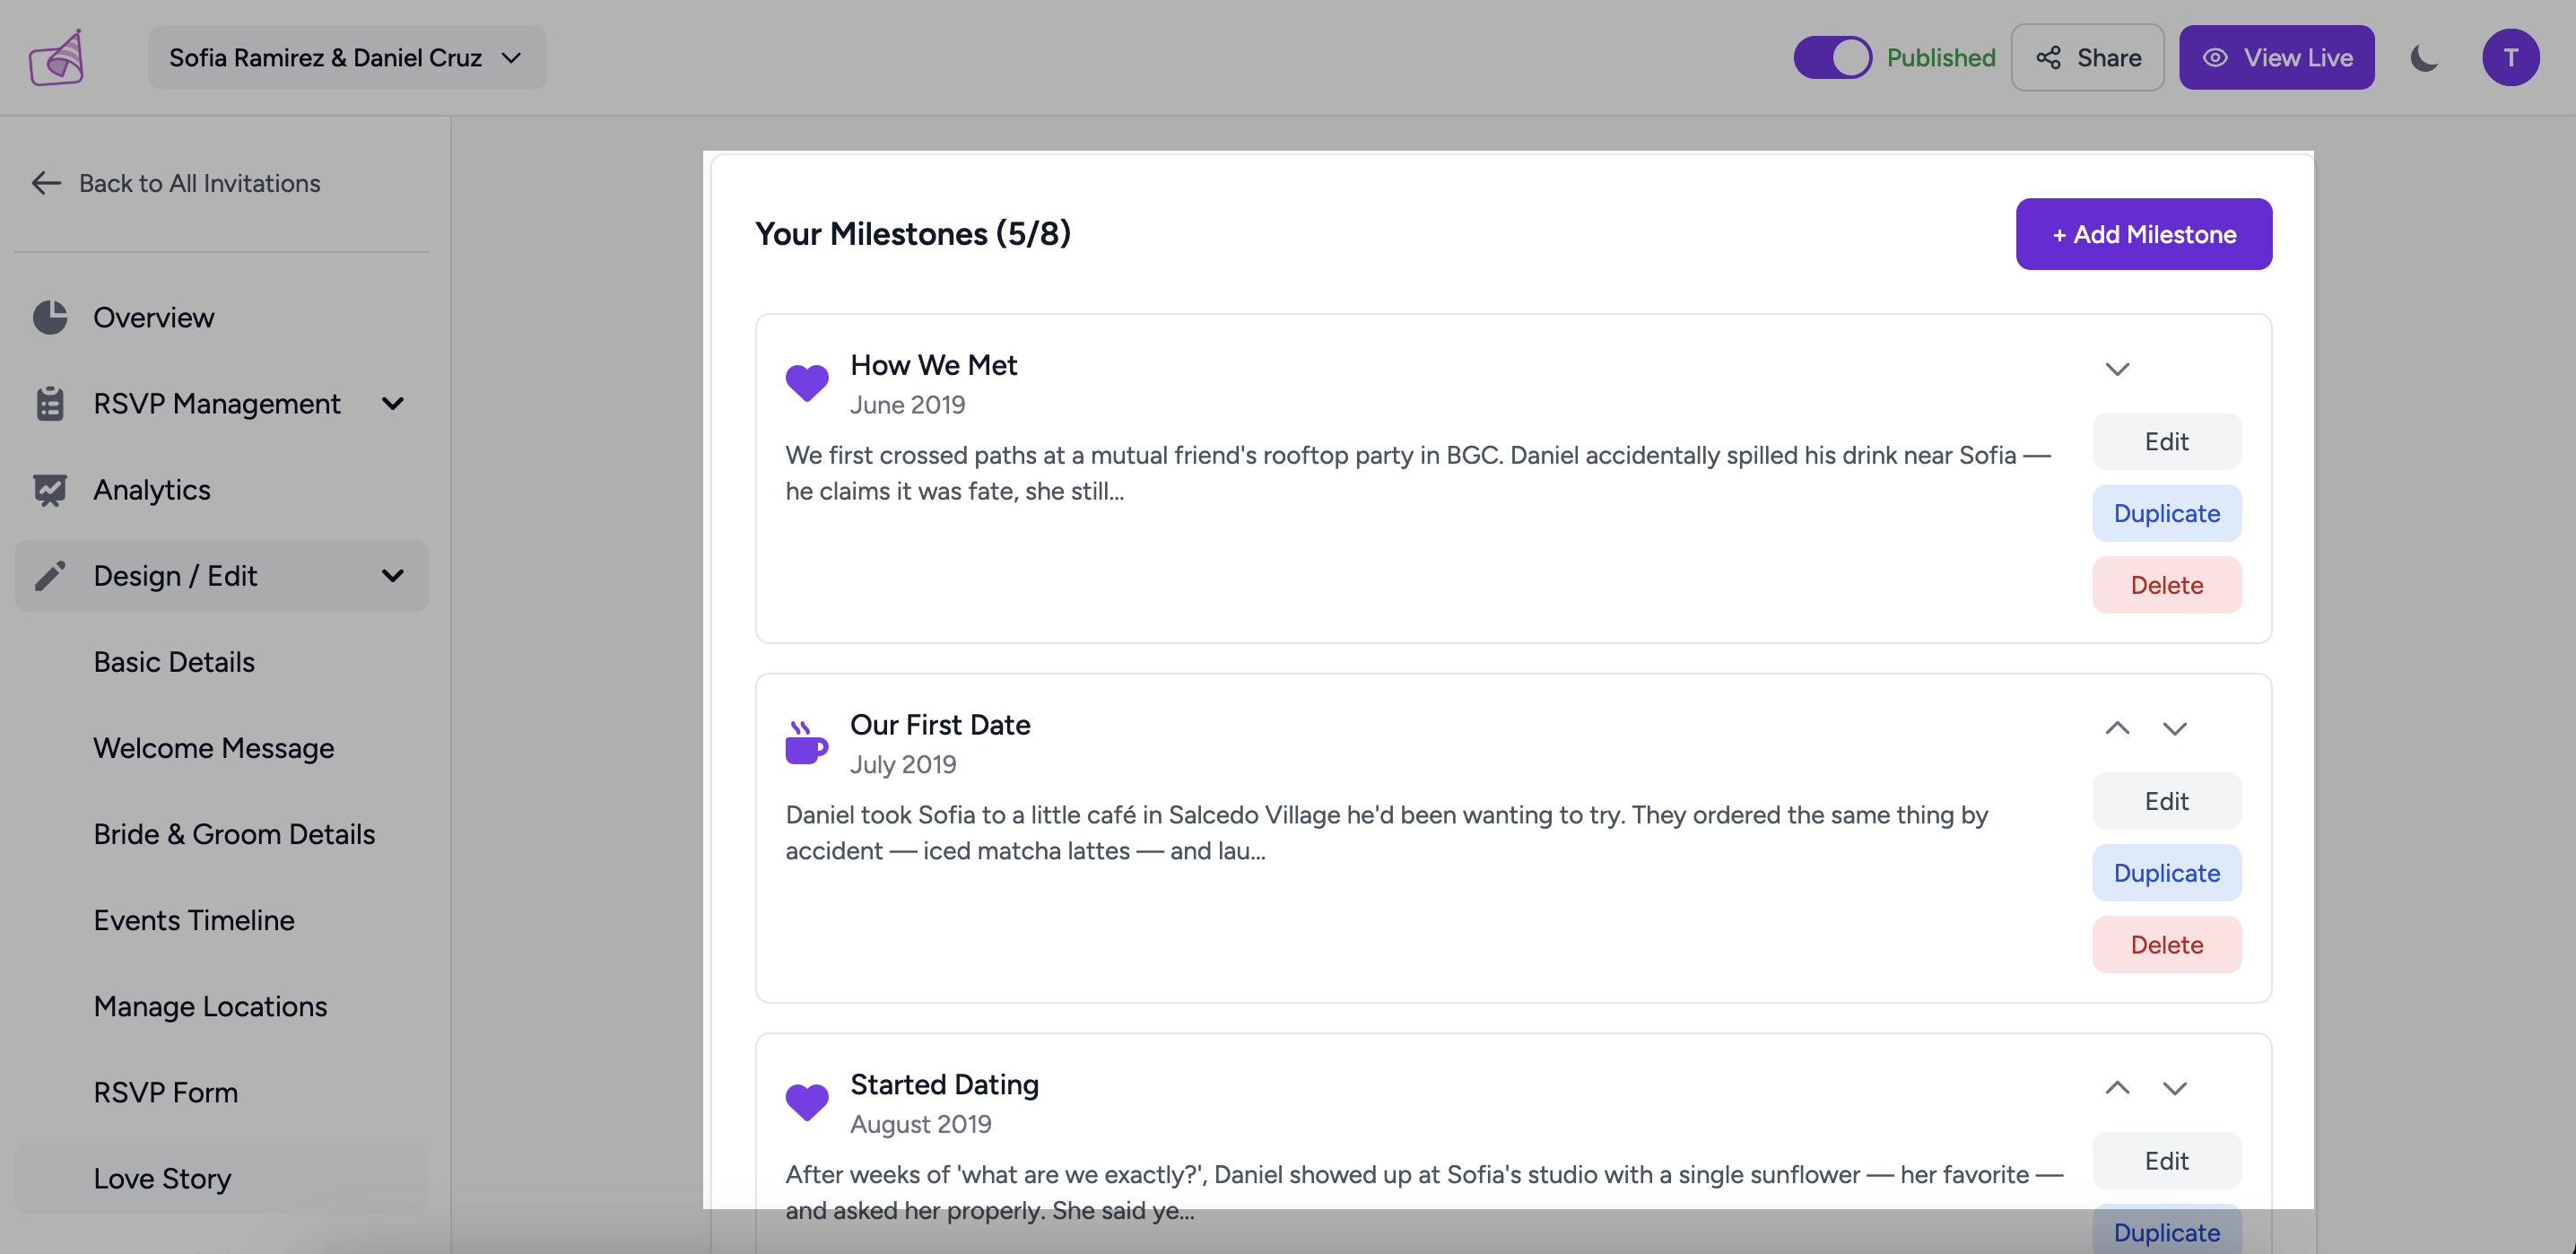
Each milestone card has four action buttons:
Looking good?
Preview your invitation to see the Love Story timeline as your guests will see it — then share the link!
How to share on WhatsApp →