How to Change Your Invitation Timezone
Make sure your RSVP deadline and guest response times show the correct local time for your wedding venue.
Why the timezone matters
The invitation timezone controls three things:
- RSVP deadline — the deadline time you set is interpreted in this timezone, so guests see the correct cut-off
- Response timestamps — the "Responded" column in your RSVP Responses table shows times in this timezone
- Reminder emails — automated reminders are scheduled using this timezone
For most Indian weddings, set this to Asia/Kolkata (IST, UTC+5:30).
Step 1 — Open Settings
Go to your invitation dashboard and click Settings in the left sidebar.
Step 2 — Find the RSVP Settings card
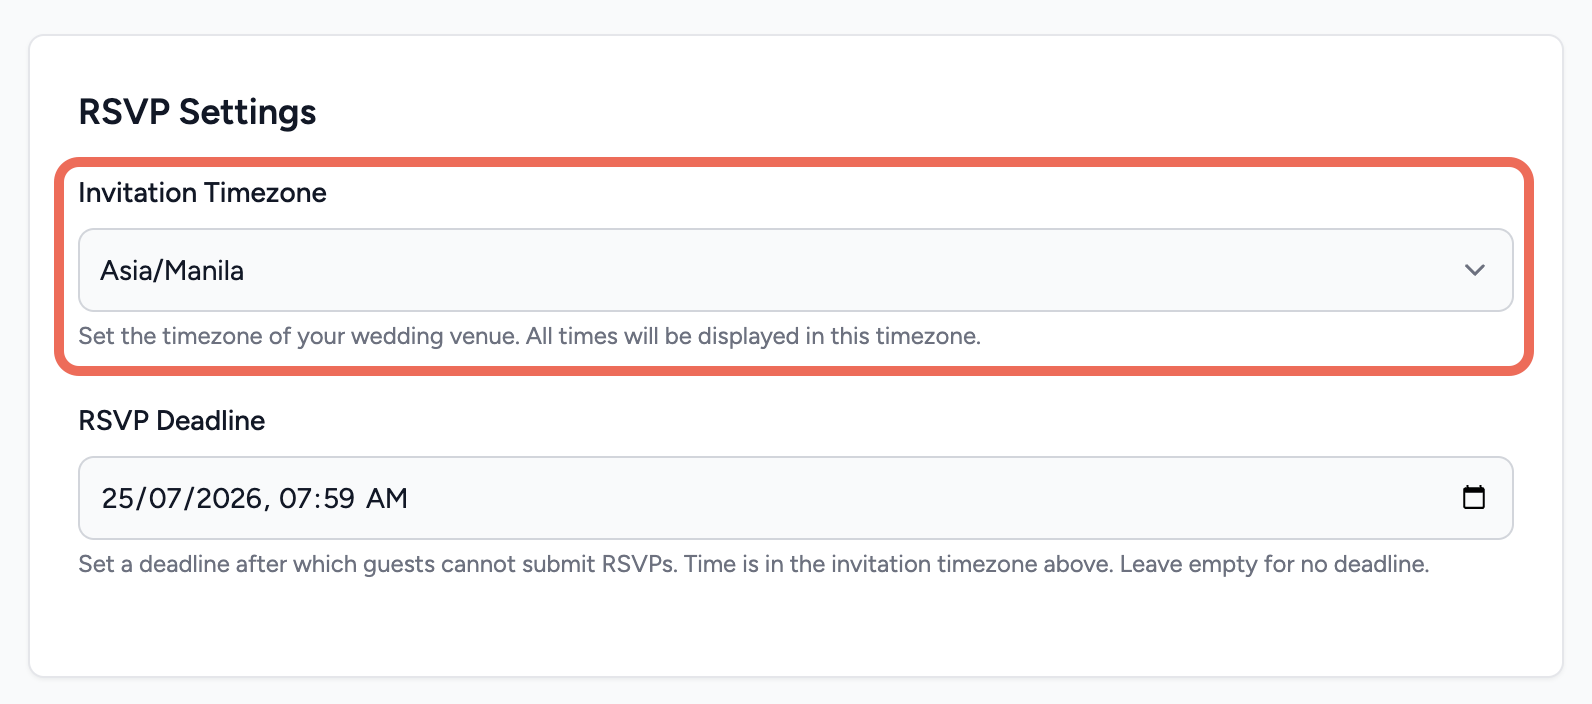
The first card on the Settings page is RSVP Settings. At the top of that card you'll find the Invitation Timezone dropdown.
Step 3 — Select your timezone
Click the dropdown and search or scroll to find the right timezone. Common choices for Indian weddings:
| Timezone | Region | Offset |
|---|---|---|
| Asia/Kolkata | India (IST) | UTC+5:30 |
| Asia/Dubai | UAE | UTC+4:00 |
| America/New_York | US East Coast | UTC-5:00 / -4:00 |
| Europe/London | United Kingdom | UTC+0:00 / +1:00 |
Step 4 — Save Settings
Scroll to the bottom of the Settings page and click Save Settings. The change takes effect immediately — existing response timestamps in the RSVP table will refresh to the new timezone on your next page visit.
Setting an RSVP deadline?
The RSVP deadline field is right below the timezone setting. Once you've set the timezone, pick your deadline date and time — it'll be interpreted in that timezone.
RSVP Management guide →